|
Kit: Zimo MS540E24; StickyGasket15x11mm speaker; 2x 470uF Tall Tantalums
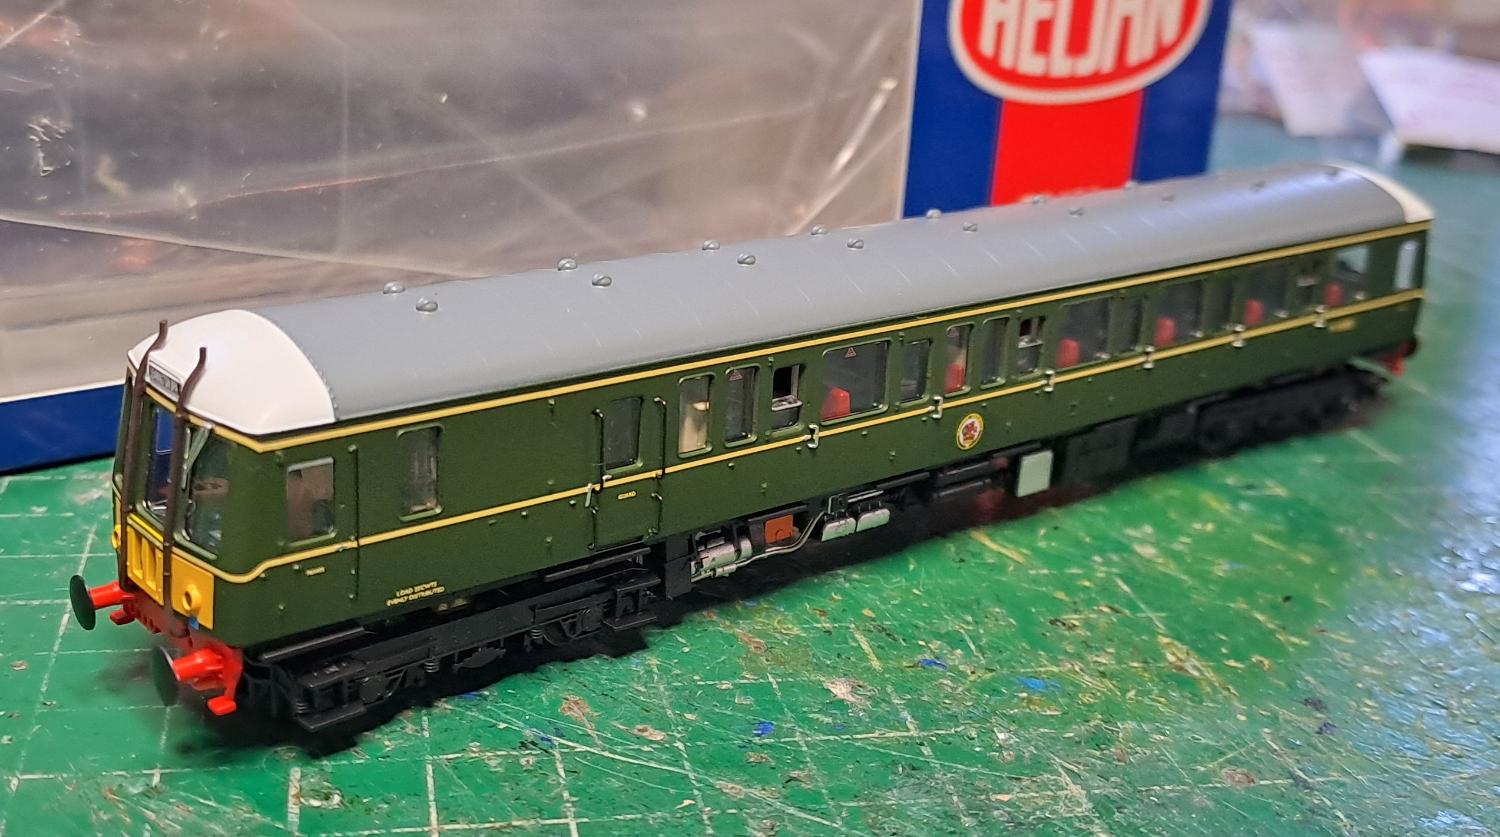
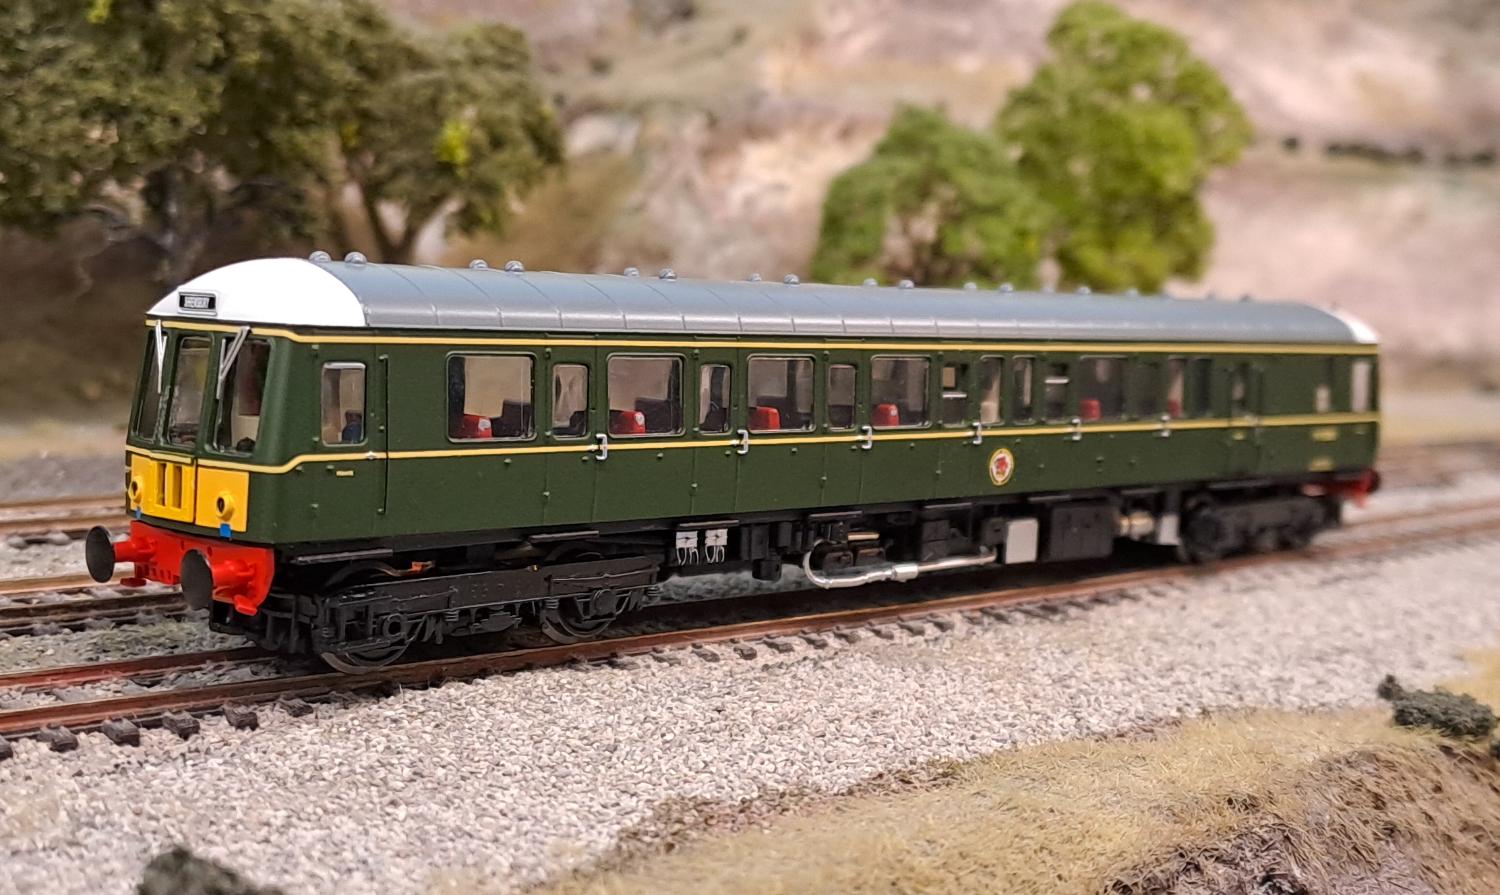
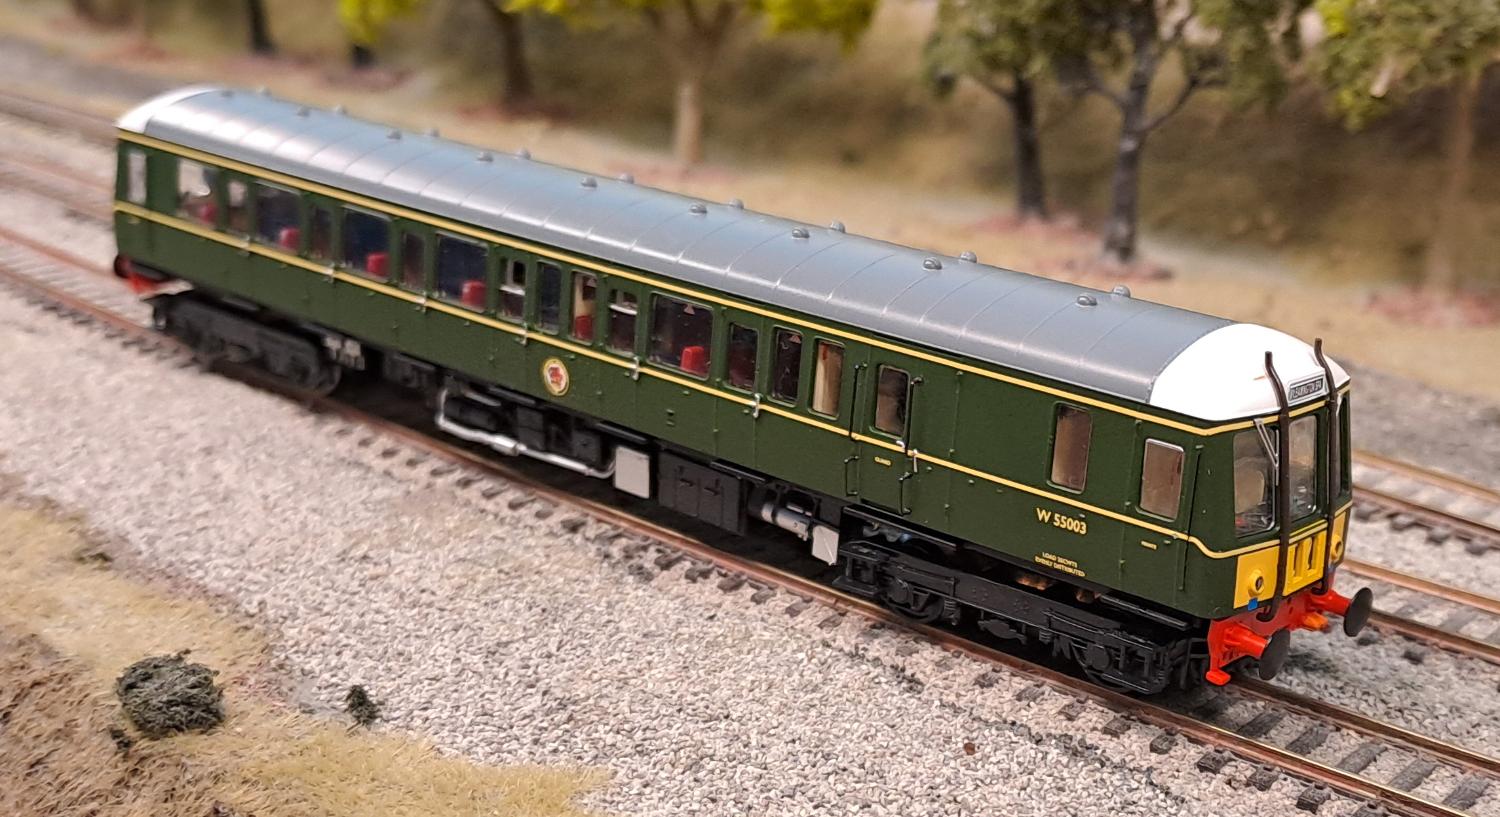
Interesting to see Heljan's first forray into TT:120 scale, the Class 122 Bubble Car. Delicate out of the box, with a few steps
and detailing bits dropping off, but nothing that cannot be fairly easily fixed back on later. The model has a sensible level
of lighting (independent whites, reds, cab lights and interior lighting), a factory-fit speaker, and an E24 DCC socket, so
theoretically should be a doddle to convert to DCC Sound.
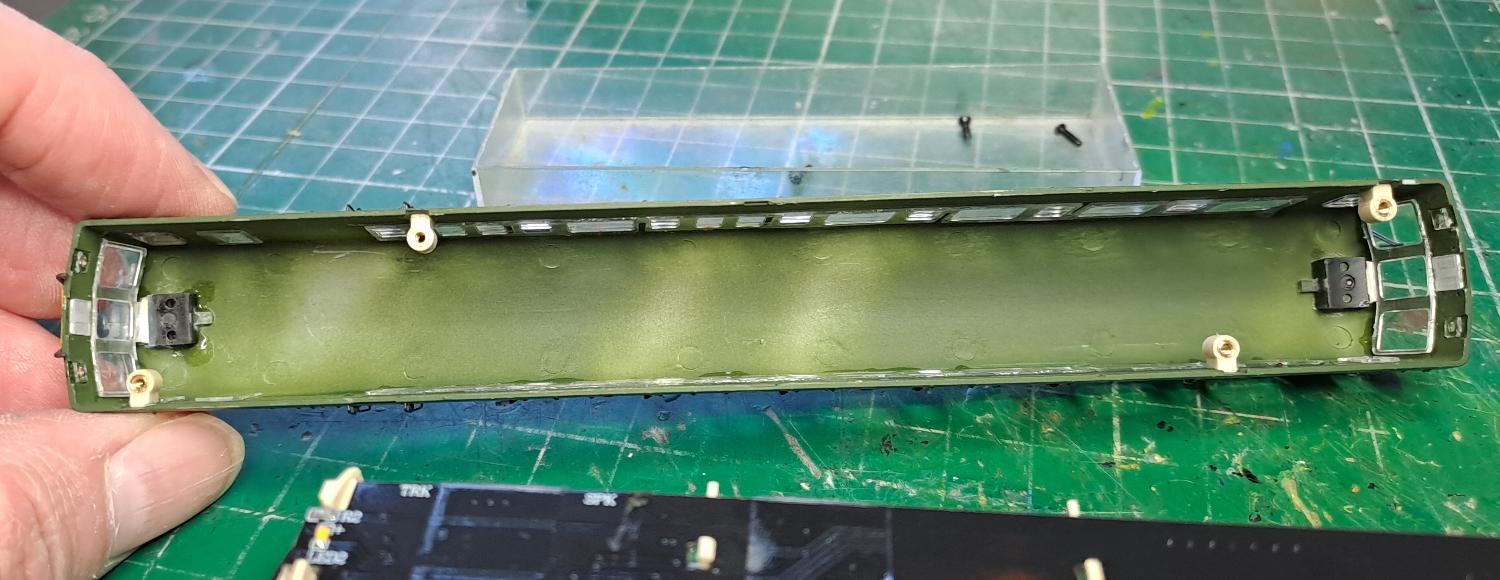
4 screws underneath allow the body to be removed, though the screws are a little awkwardly positioned to remove easily past the
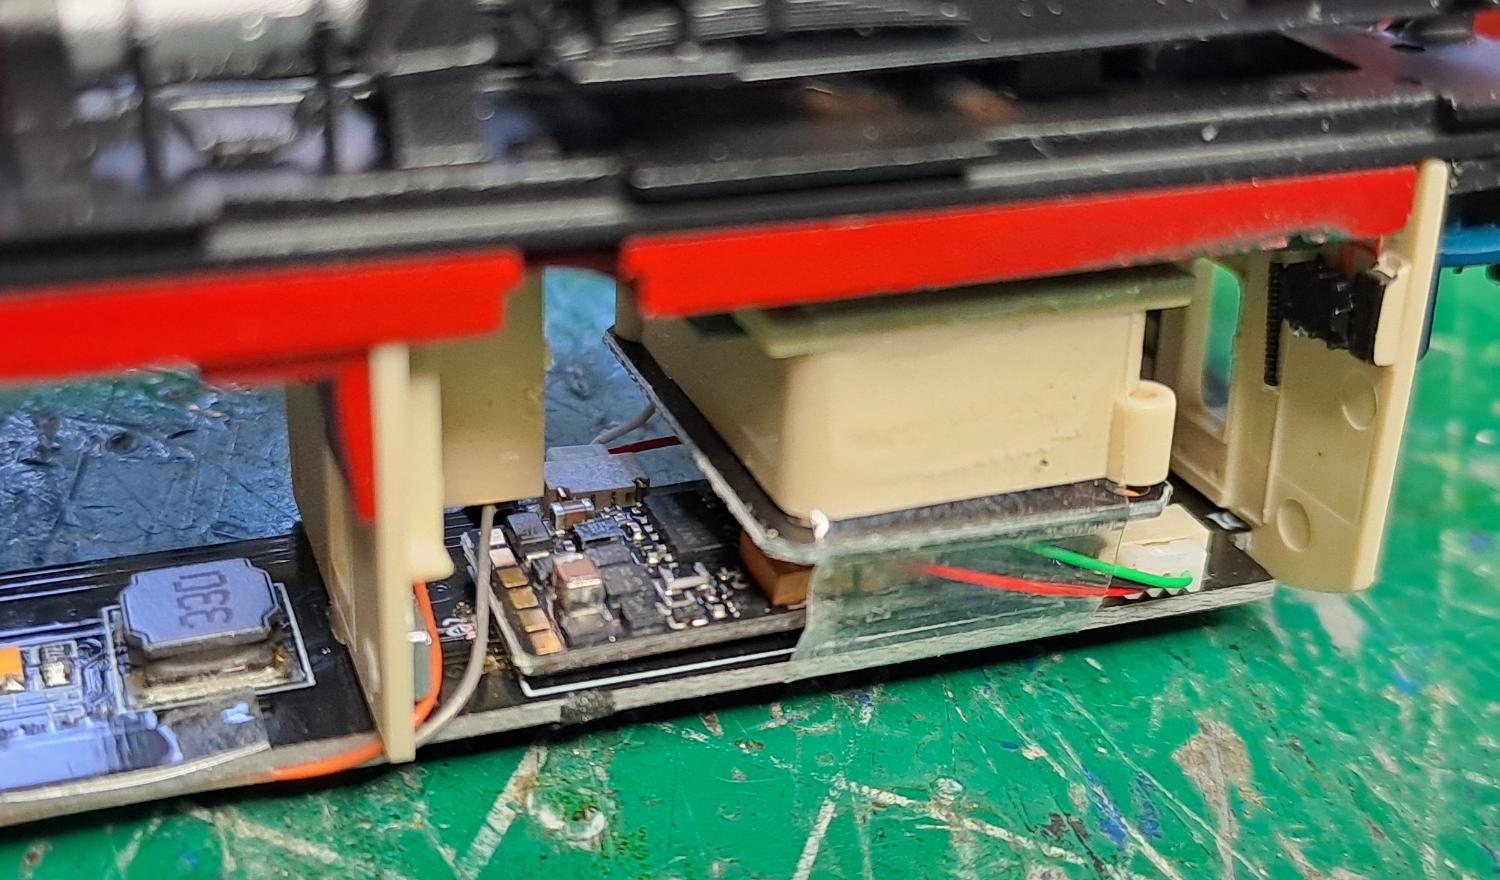
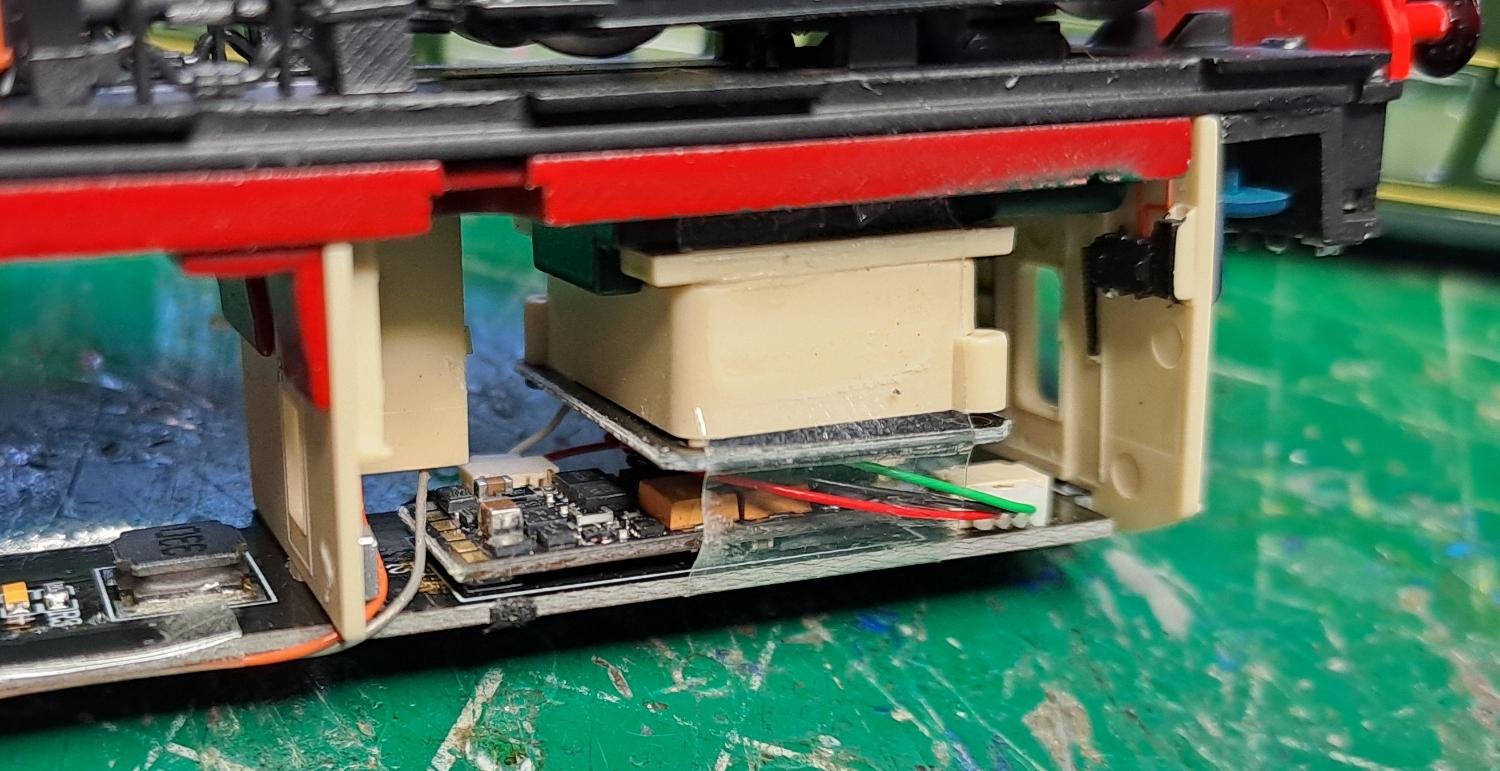
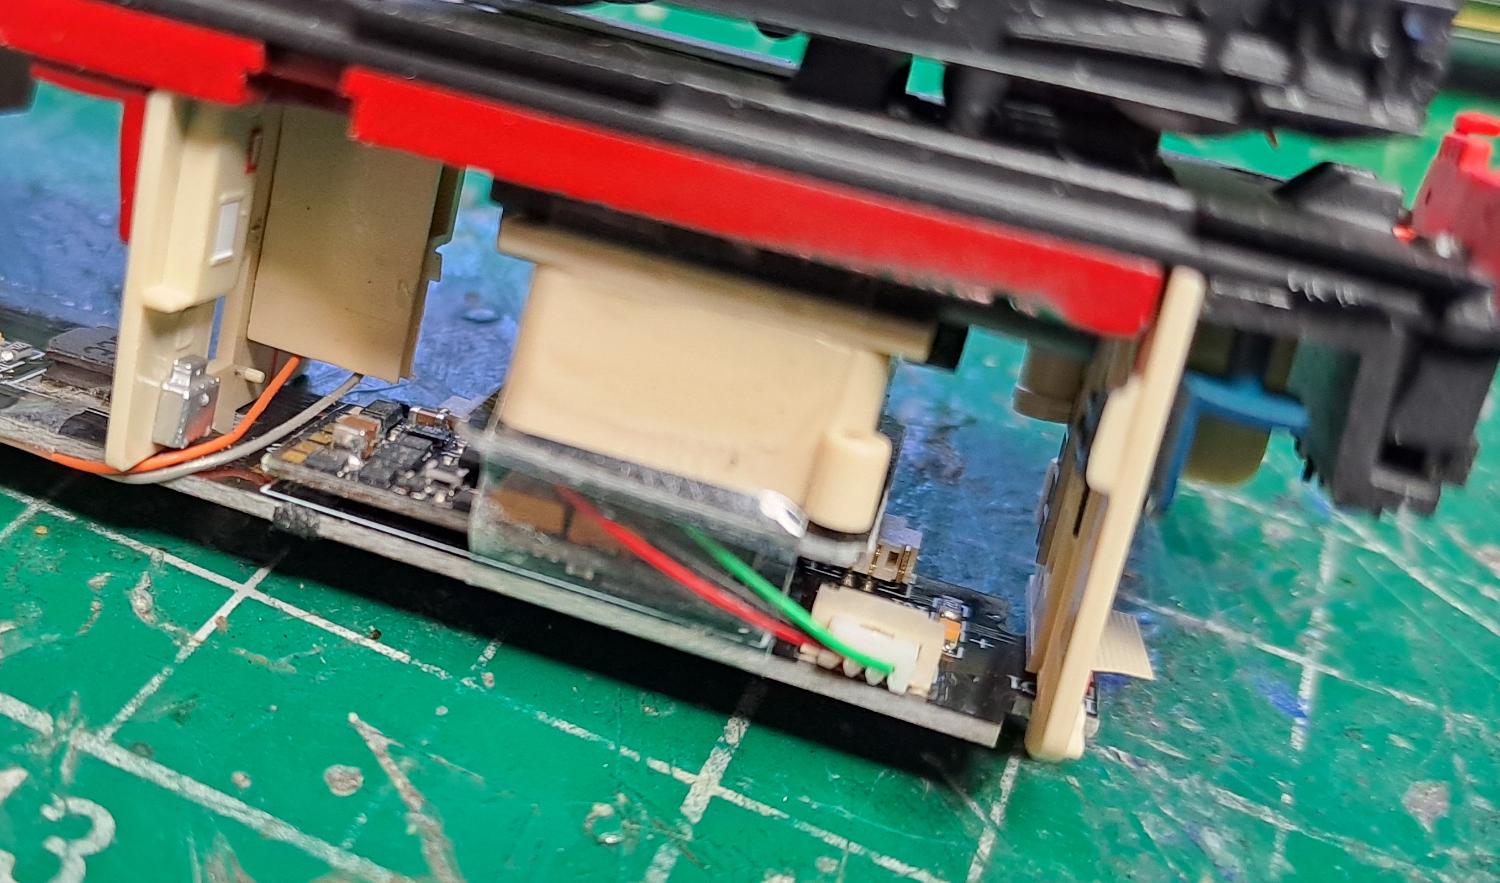
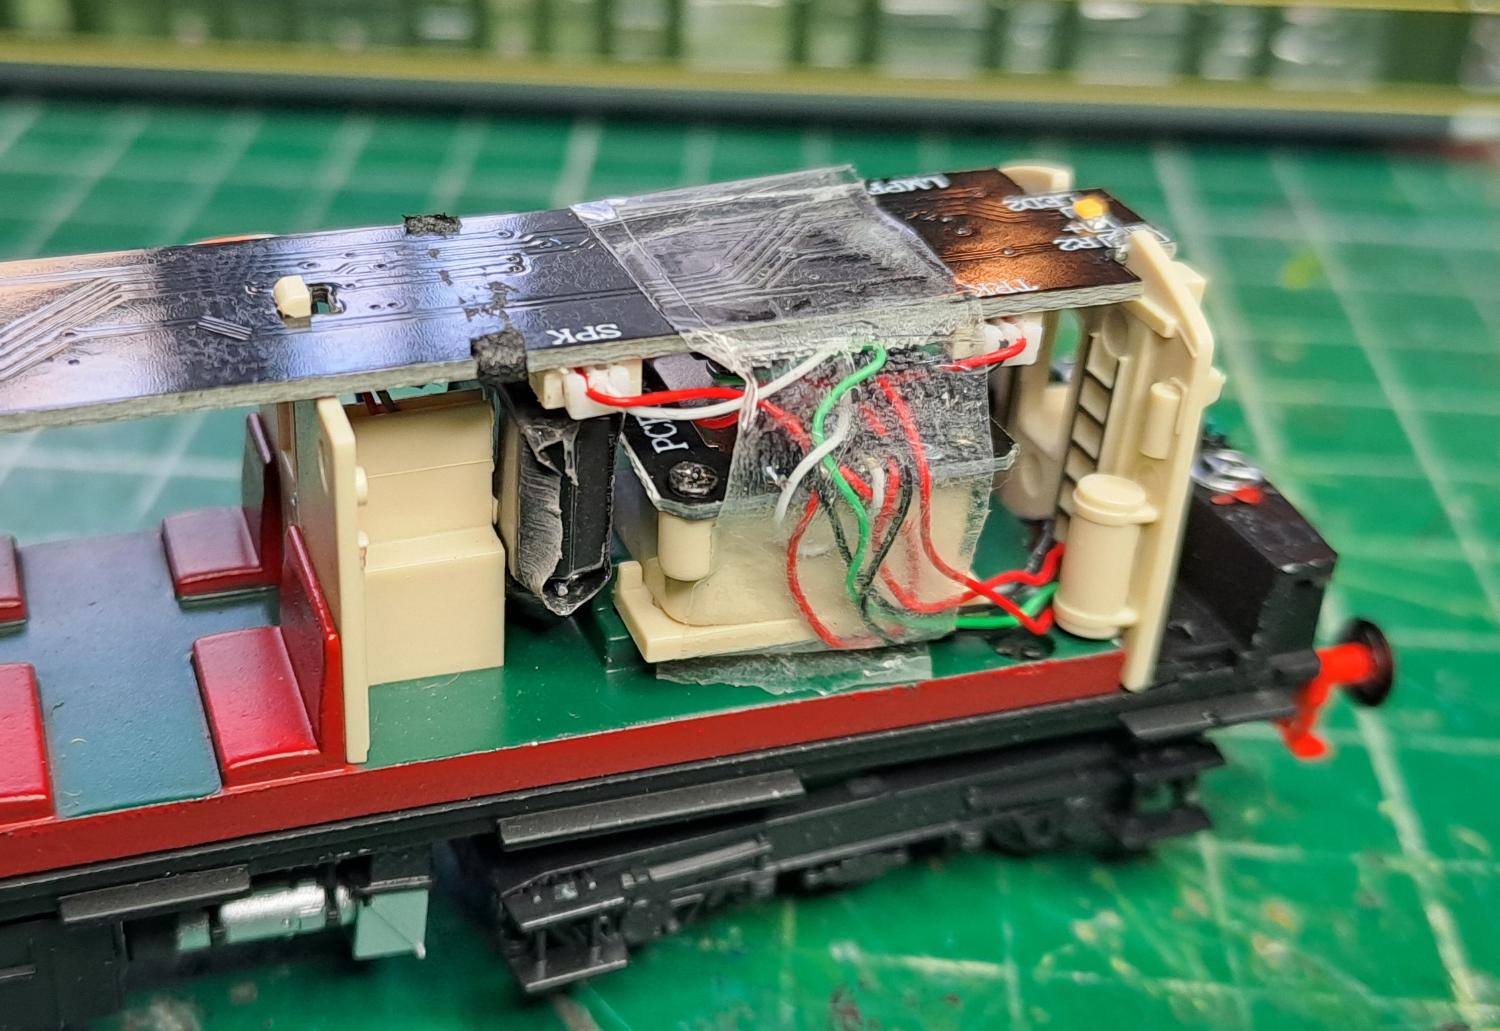
bogies. Inside is revealed a reasonable looking box for the speaker, and the E24 socket is above this, on the underside of the
roof PCB. Easy enough to get the blanking plate out, but much trickier to get a decoder in. The speaker has to be untaped and
slid out to gain better access, and even then it is quite fiddly - not the best position.
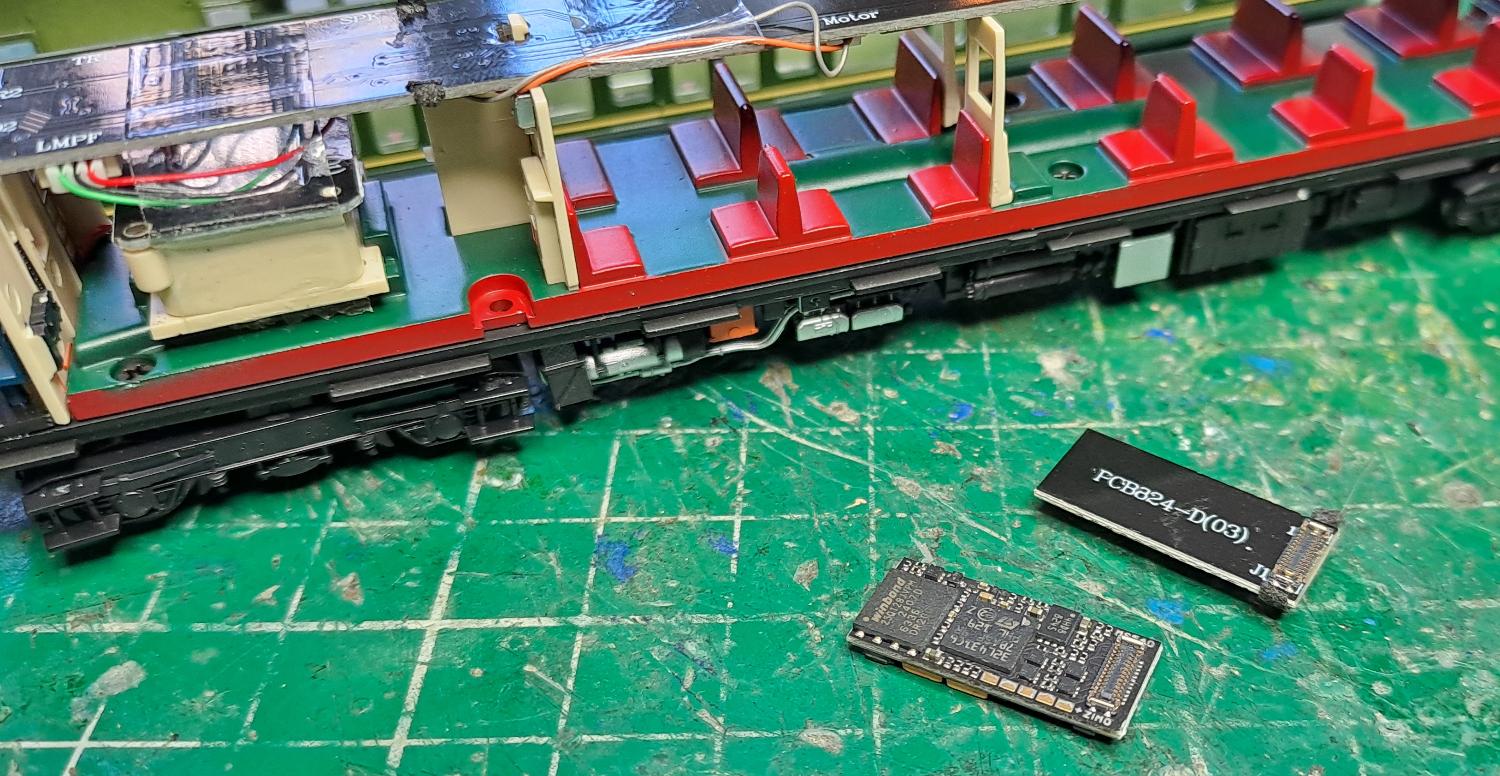
Here we see the Zimo MS540E24 sound decoder in place - this would be the simplest solution - use the factory-speaker it is and
no stay-alive. However, when we tested it, the speaker performed poorly, very quiet, so we look at a simple upgrade.
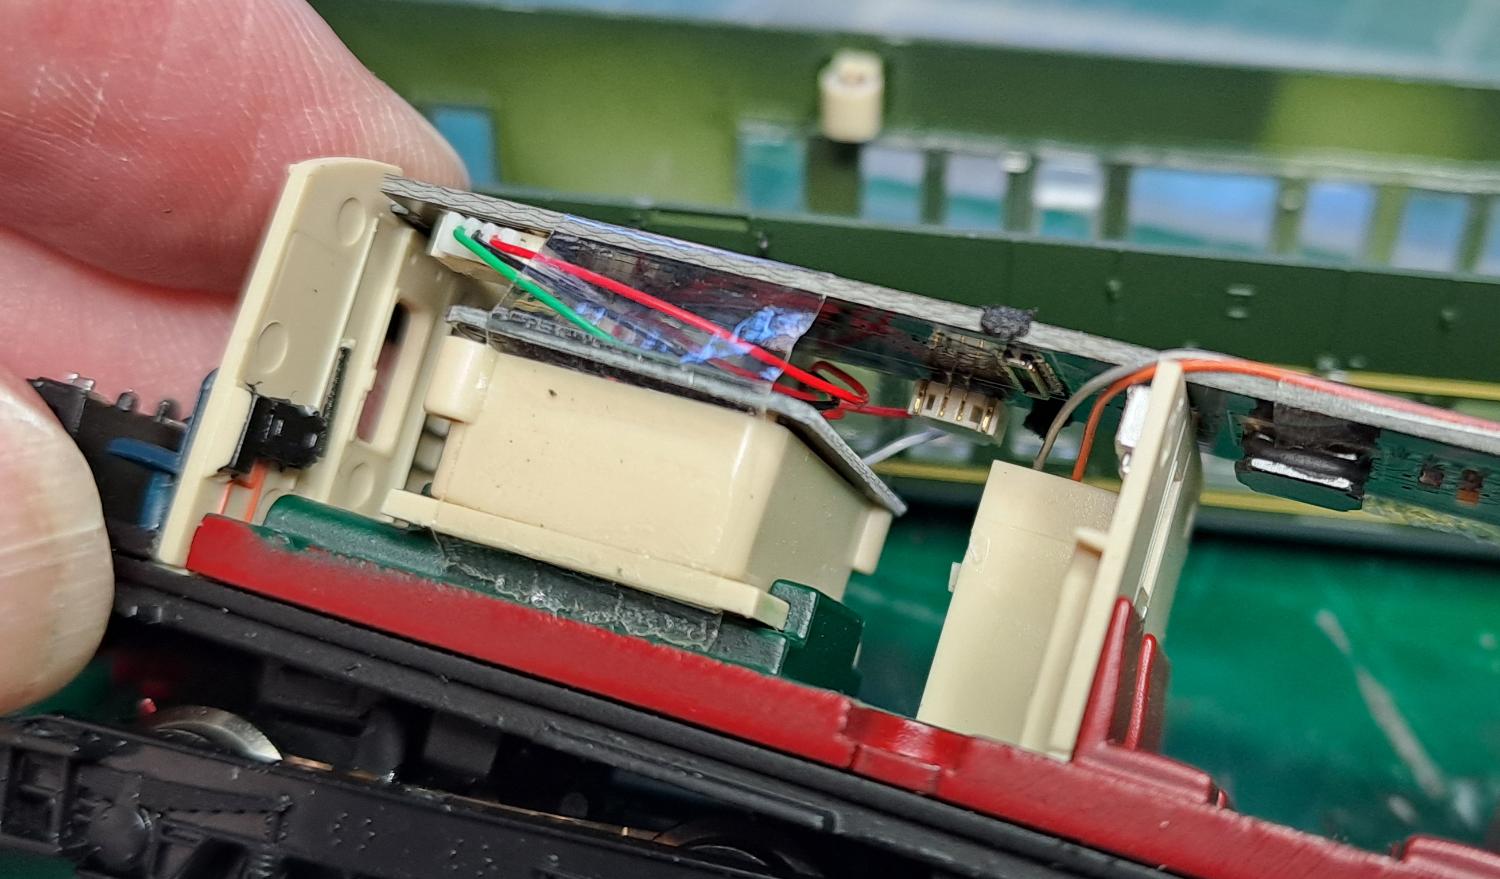 
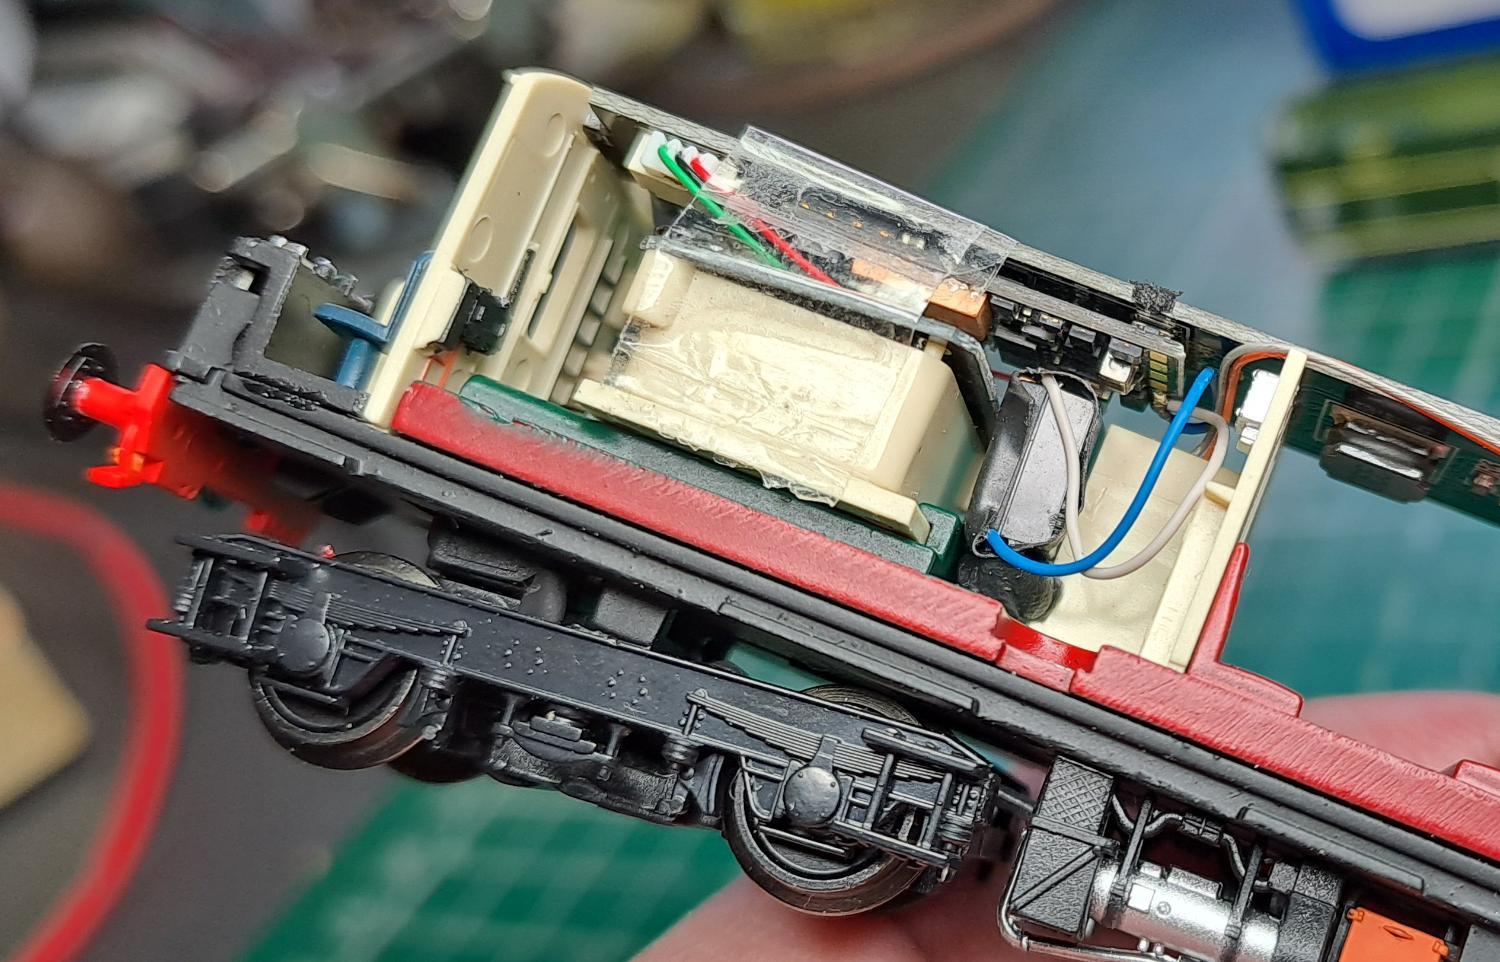
The first upgrade though, is to add a little stay-alive - the MS540 can take up to 1000uF/16V directly, so we opt for a pair of
470uF Tall Tantalums connected in parallel and soldered via wires to the decoder's CAP+ and CAP- pads.
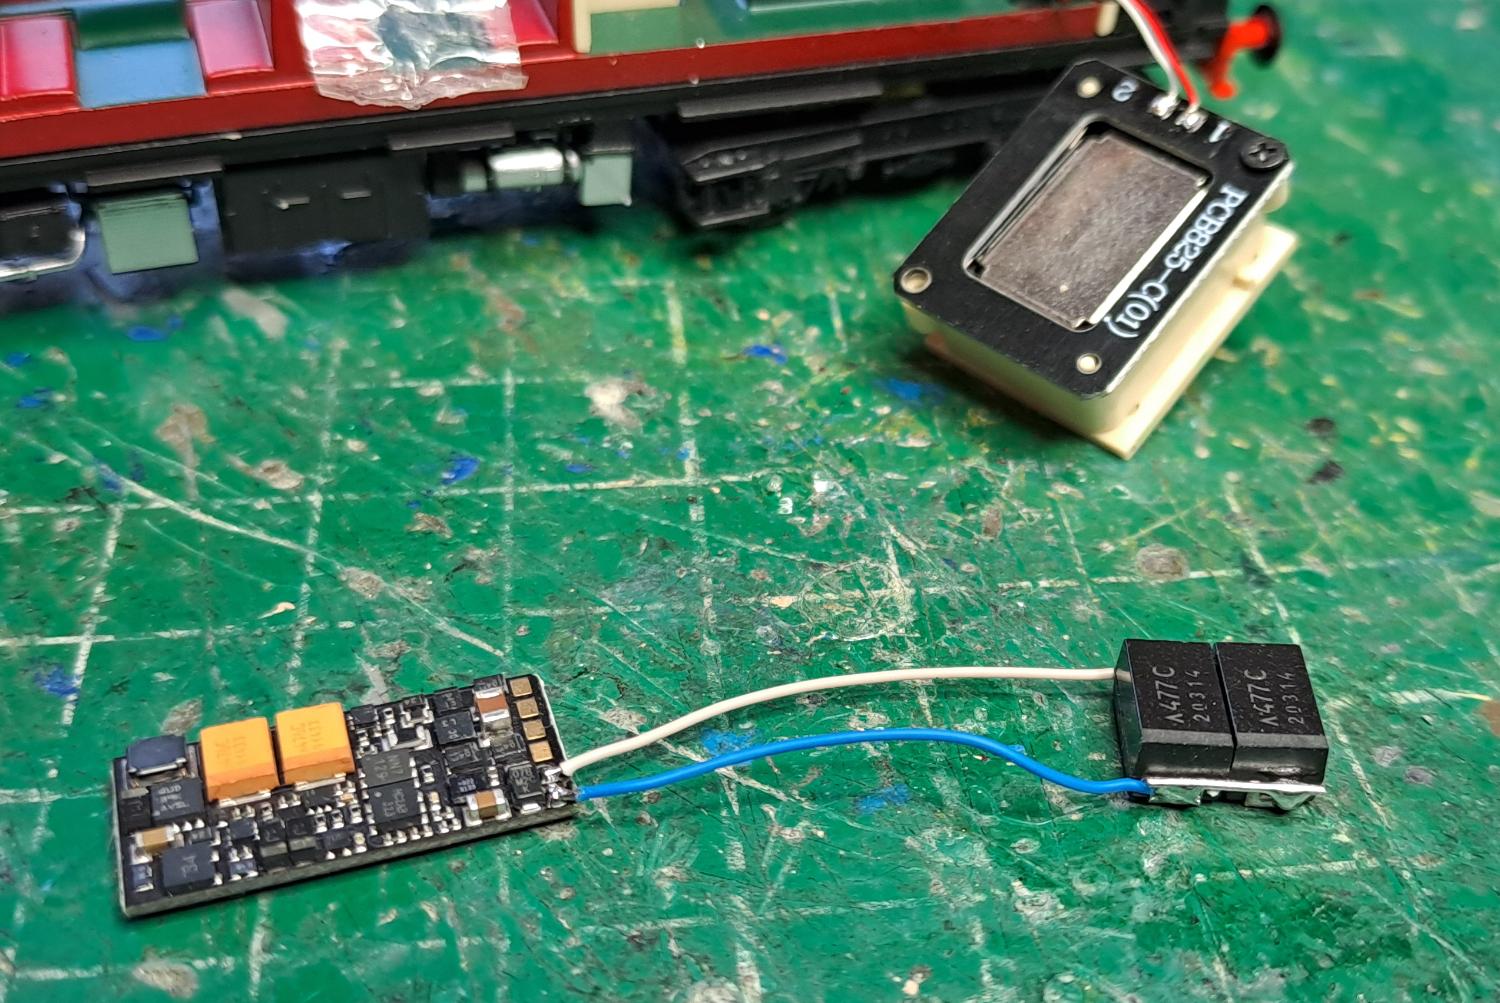
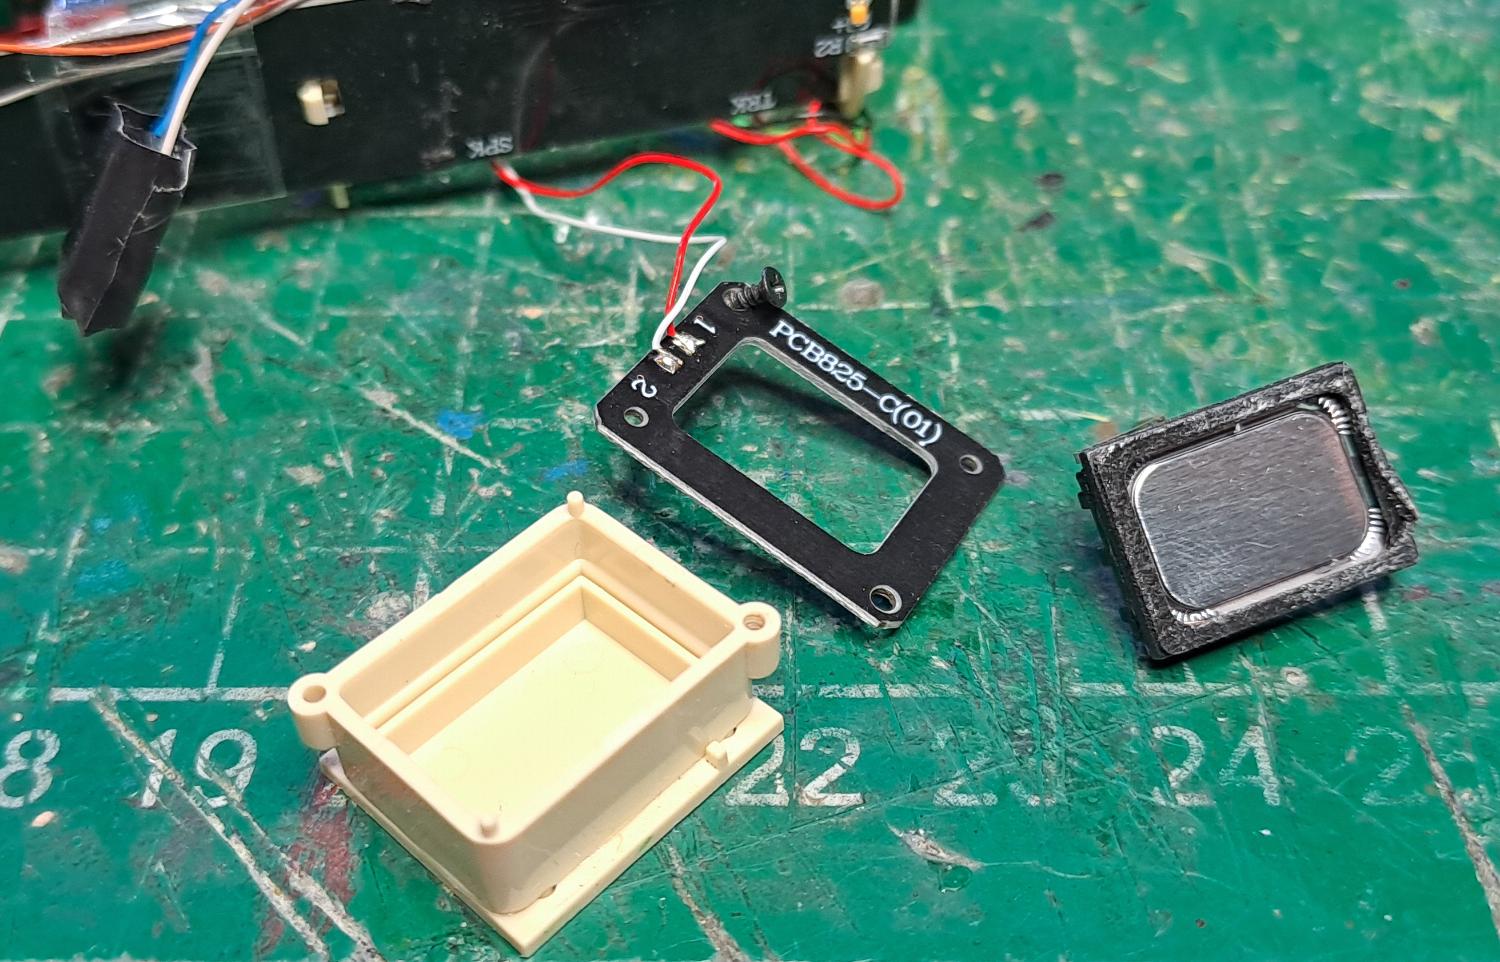
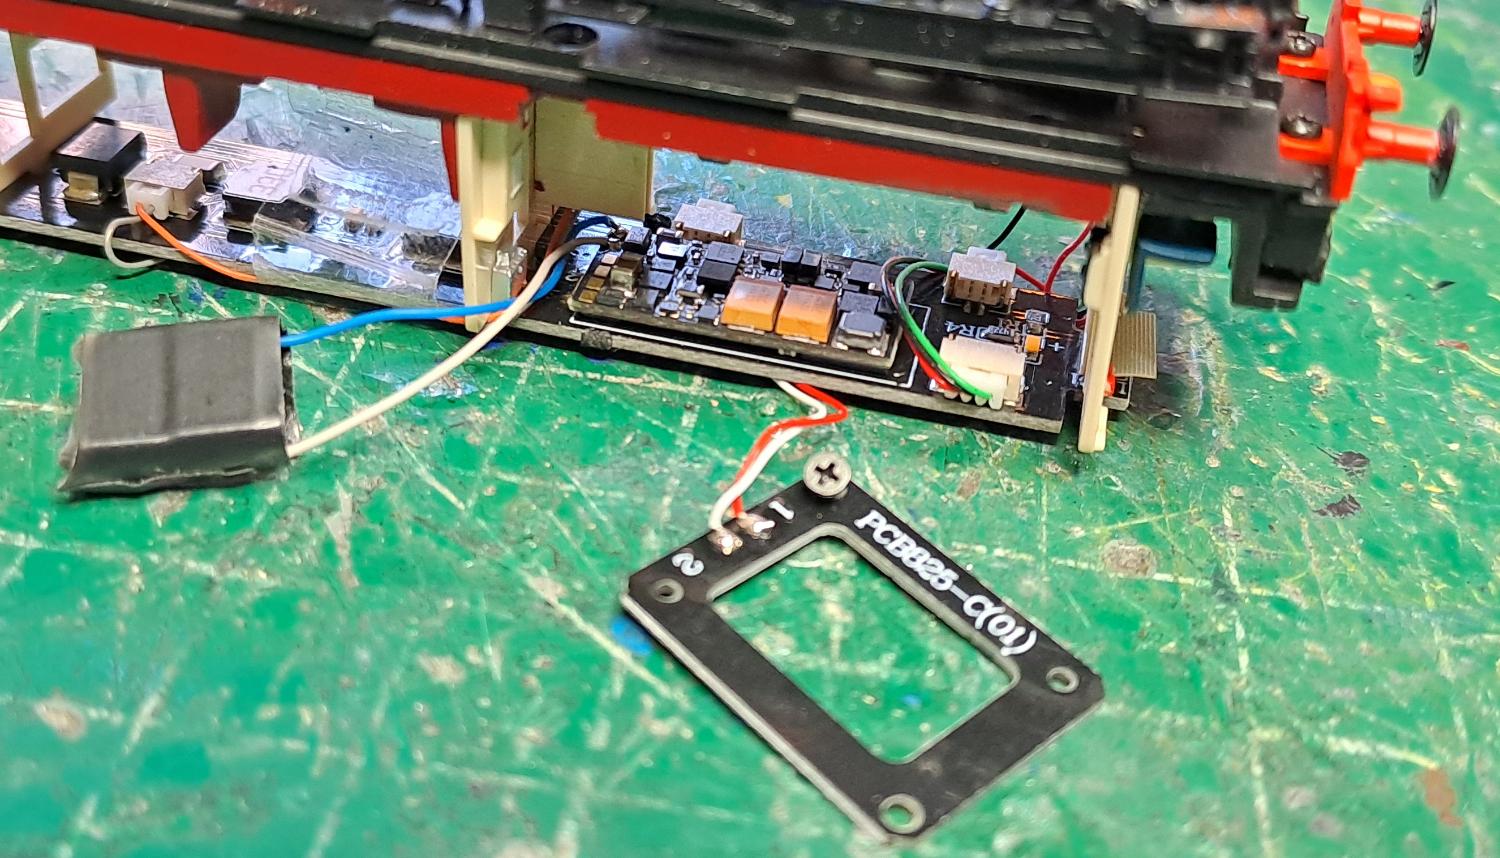
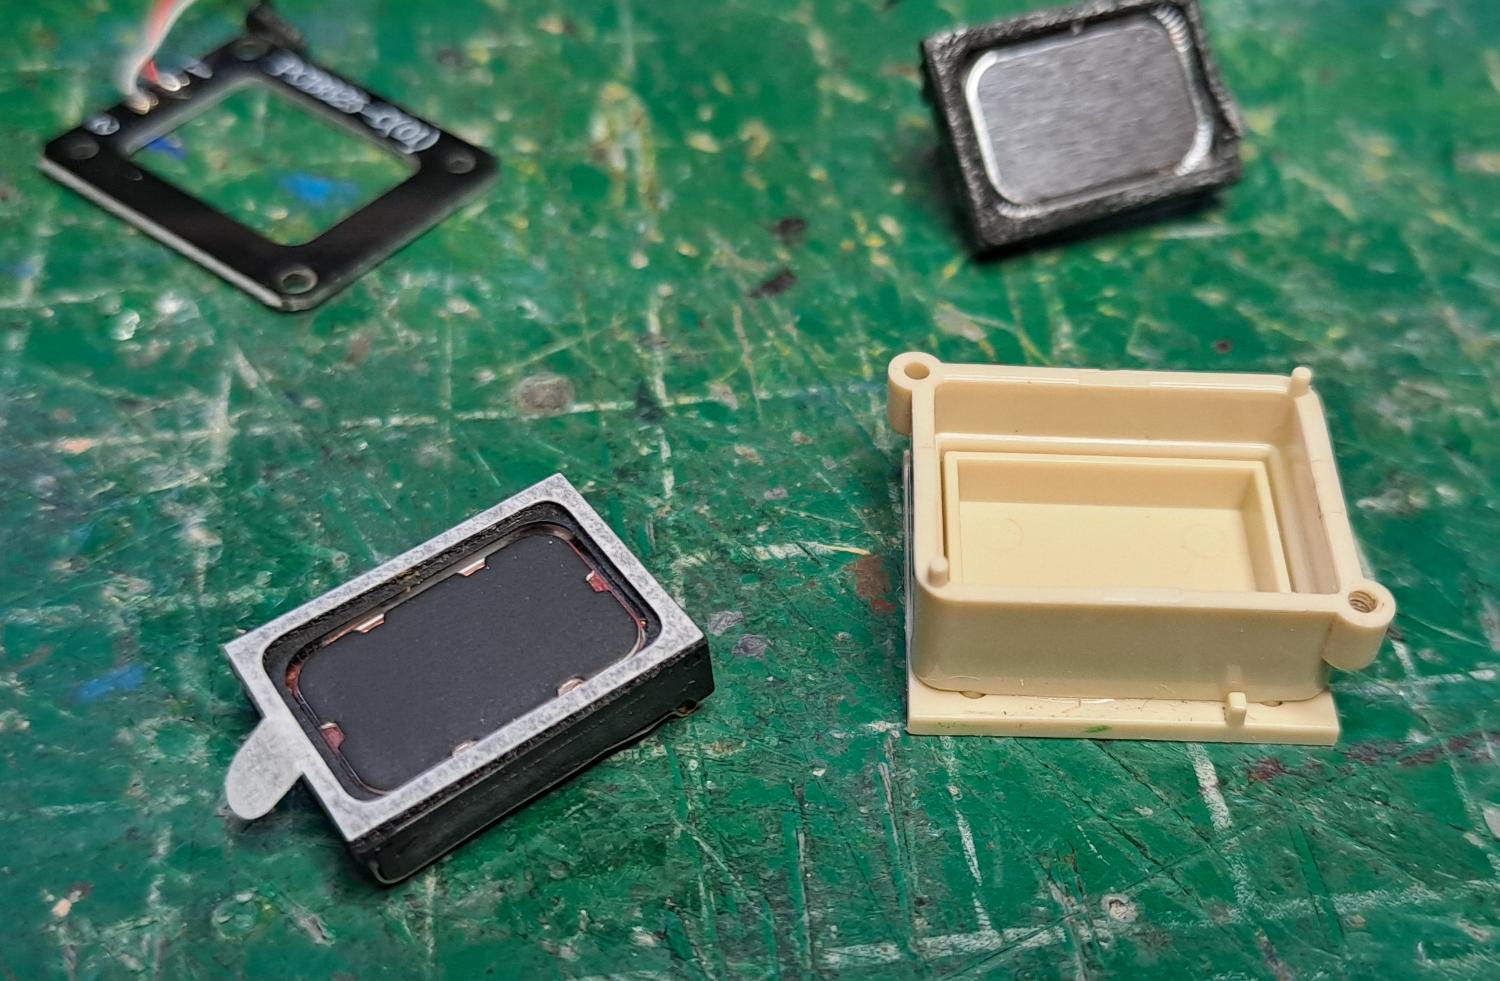
The next upgrade is the speaker - the box looks quite good, so we unscrew the PCB from the enclosure, ping out the factory
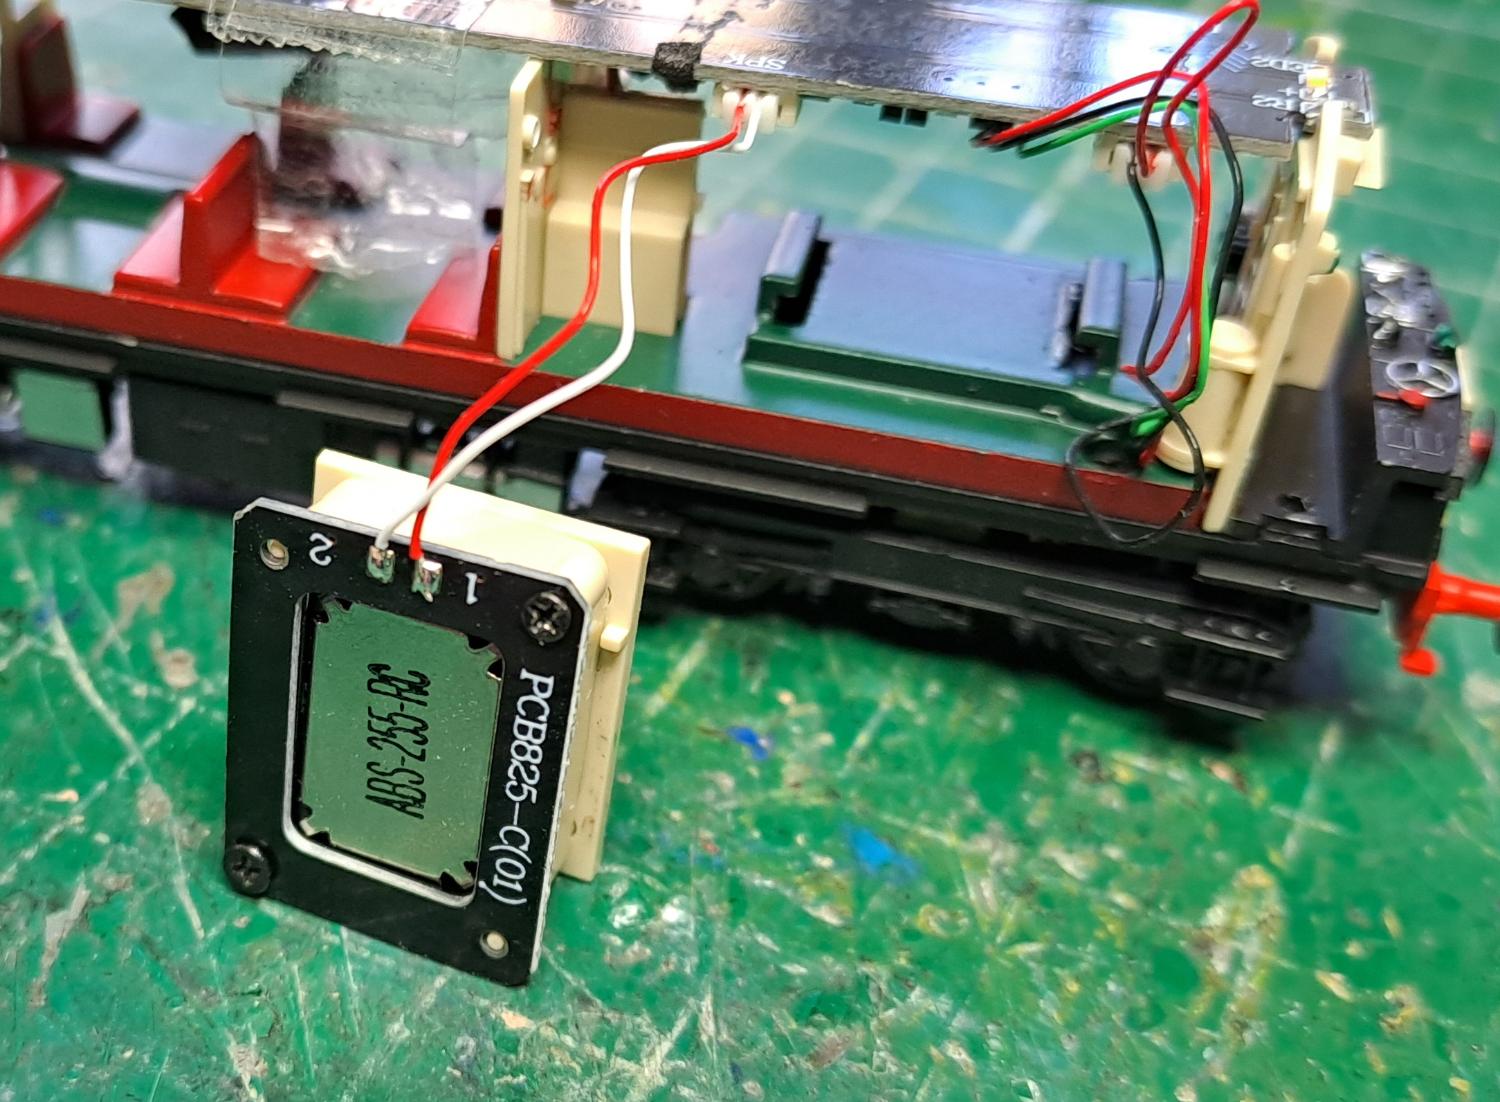
speaker component, and insert one of our 1.2W 15x11mm StickyGasket components instead. As supplied, the PCB only had a single
screw holding it down, which seemed wrong, so we dig out a compatible screw from our bits box so that the PCB is properly
secured against the speaker. This solution is a big improvement. There is potential for a much bigger speaker, losing the box,
but this seems sufficient for this installation.
The Tantalums are wrapped in electrical tape and secured inside using a little blob of BlackTack, but not until the decoder is
carefully clicked into position in the socket. Speaker is inserted next, then the Tantalums. Test everything, including
lighting, and then we can put the body back on.
We had some bother with bits dropping off this particular model, including one of the lighting ducts for the destination
boards. Glued back in, it wasn't in the perfect position, so the body was quite tricky to get back on without a little
fettling, but eventually it made it, and the results are good. The wheels also had a bit of tarnish which needs a clean before
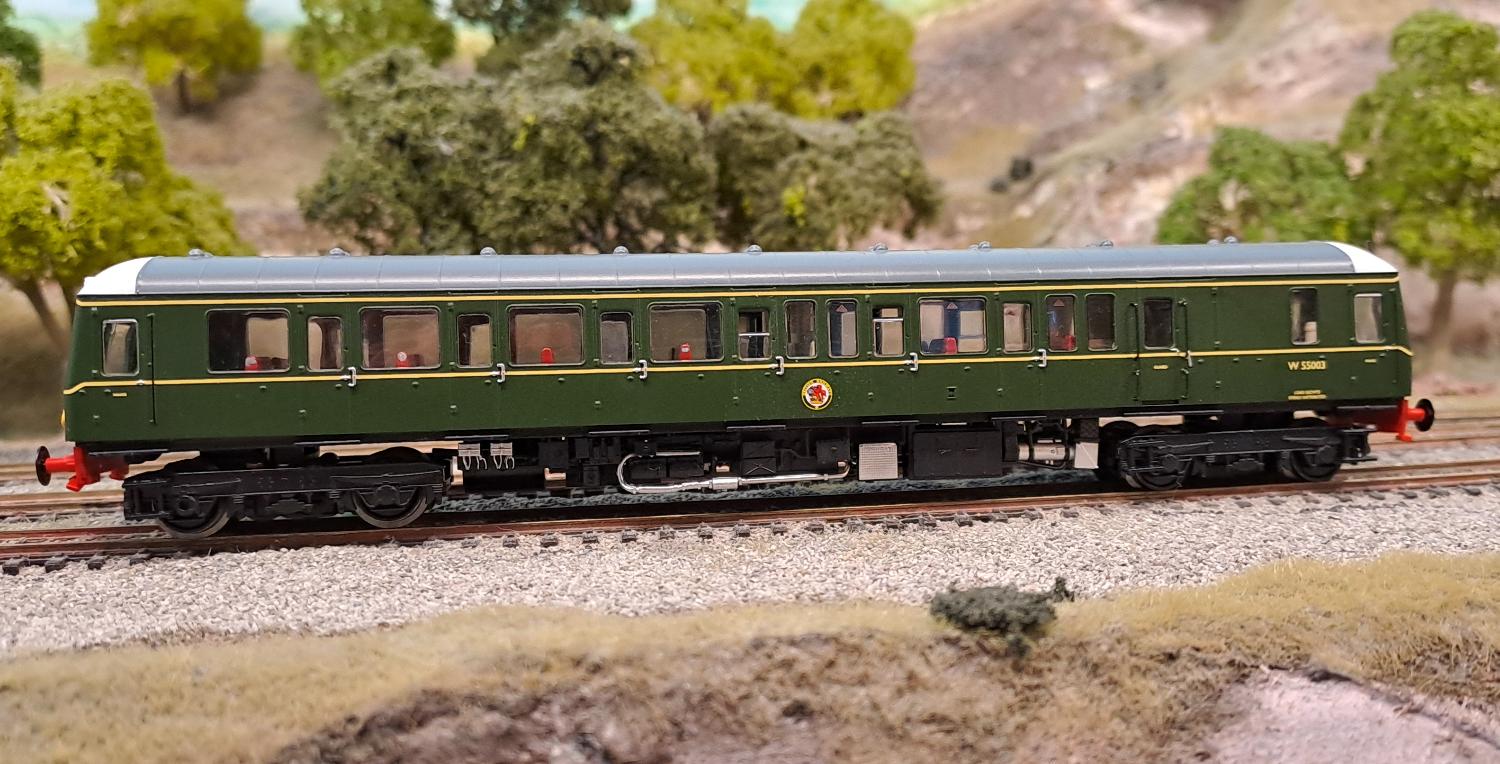
we got good operation (not uncommon on new models for all manufacturers). Once this is all done, the model is actually very
good and runs well and sounds good.
|


 About YouChoos
 Privacy Statement
 How to Order
 Testimonials
 Useful Links
 Services
 Contact
 Facebook